Pies are so wonderful. I love myself a good pie. Homemade pie is worth every extra minute it takes to make the pie crust and filling. Refrigerated pie crust and canned filling just don’t hold a candle to the real stuff.
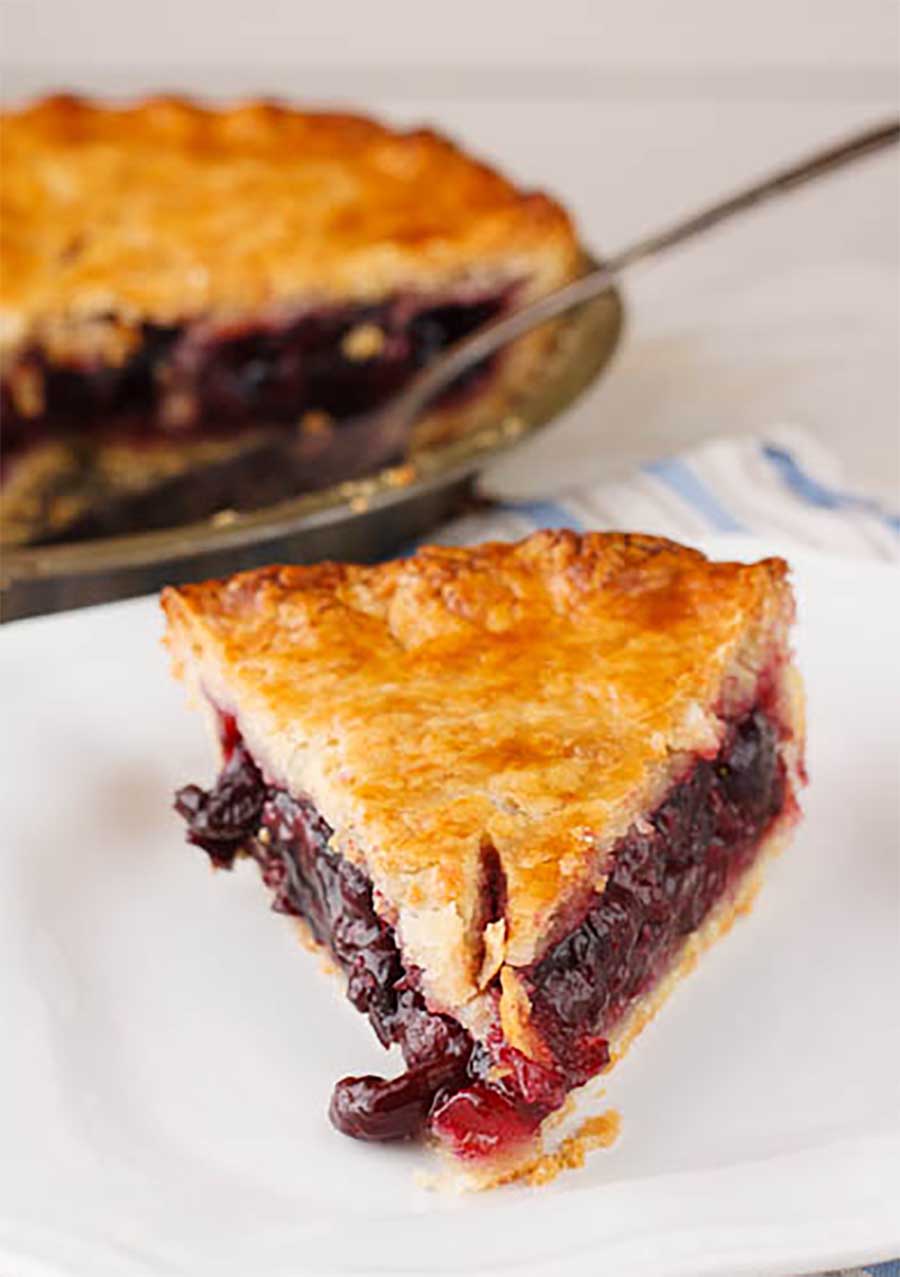
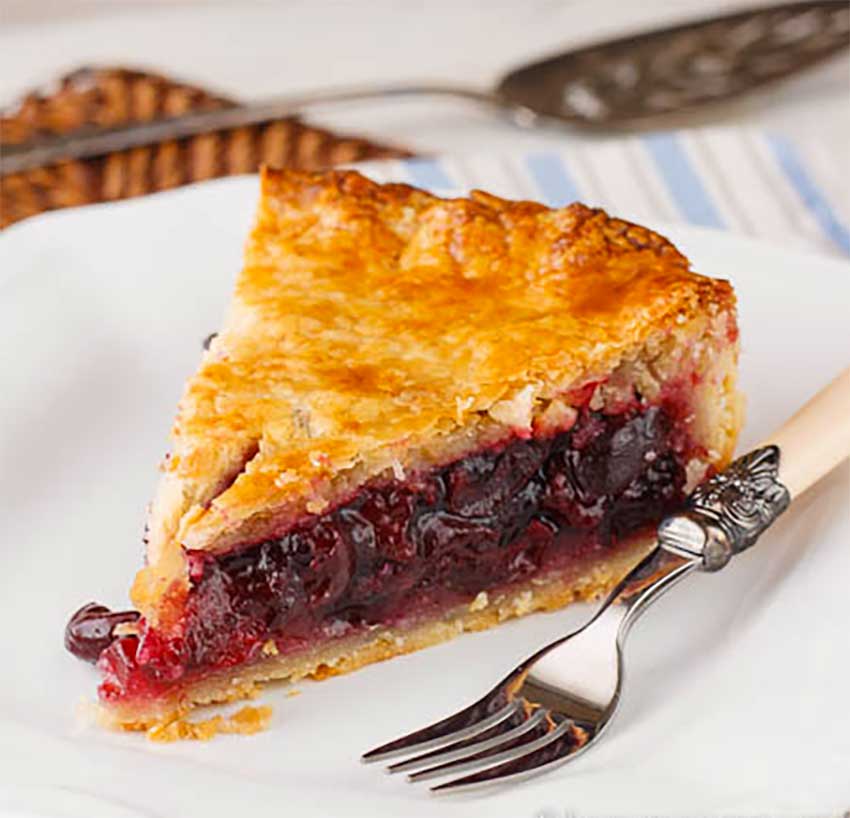
My Grandmothers absolute favorite thing was a good ol’ cherry pie. And I can’t say that I blame her- Cherry Pie is darn delicious! Especially if you take the time to pit your own fresh cherries. But let’s be honest, most people don’t have a cherry pitter and without that, using fresh cherries for a pie isn’t that enticing. I myself went with frozen pitted cherries. But they present their own challenge in themselves- they measure up differently than fresh cherries and they exude a TON of extra liquid before they even hit the pie shell. I used TWO whole bags of Dole Frozen Cherries- about 5 cups, instead of the 4 cups fresh cherries called for. I left them out in a colander in the sink to thaw throughout the morning. Once thawed I cut them in half to make for a better-textured pie. This caused a lot of extra liquid to pool out in the bowl. I ended up pouring out all but about 1/2 cup or so. I can’t stand when pies are soupy so I thought it would be a safer bet to do that than use all the exuded juices.
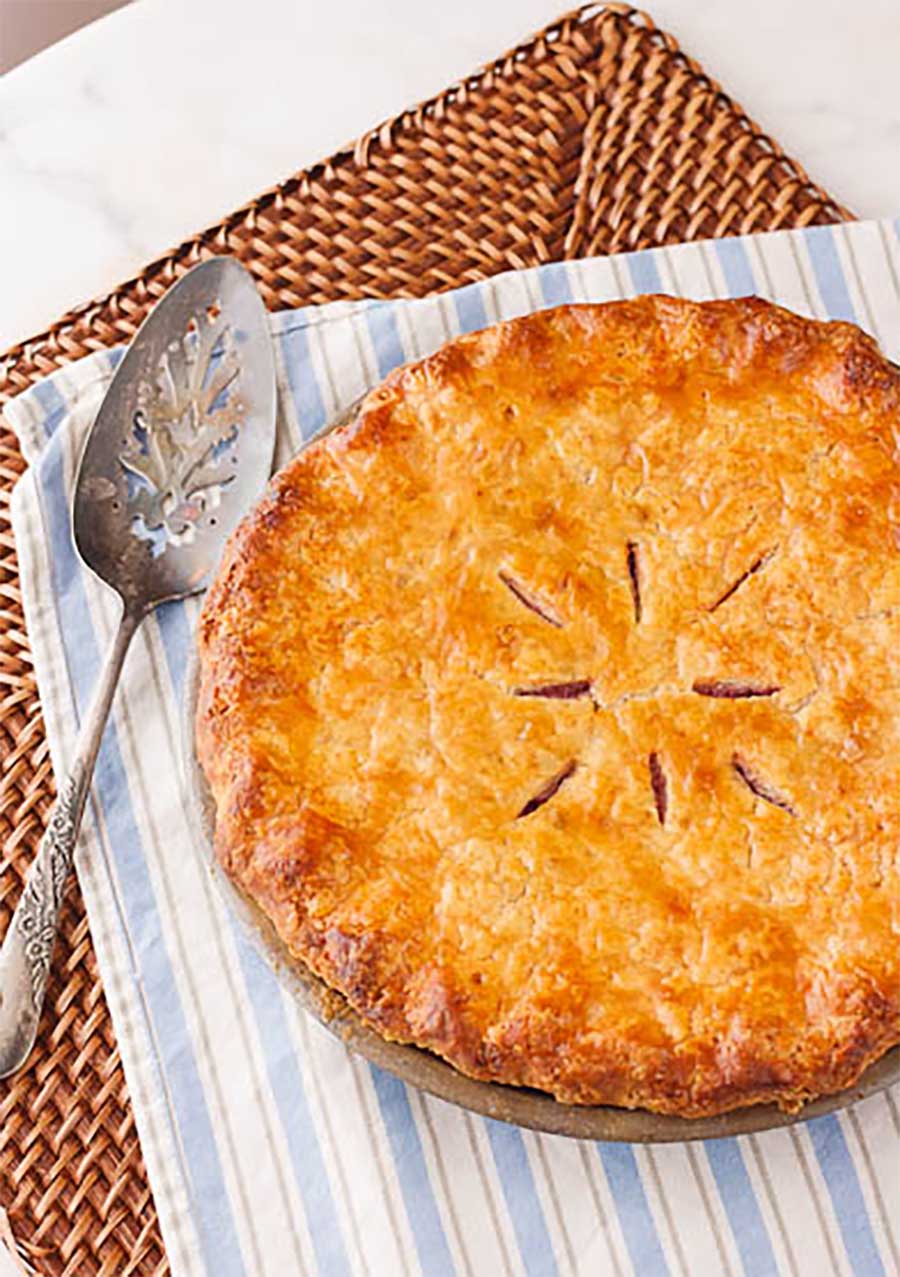
I did run into one serious problem though- the tapioca thickener. I had previously ground all my tapioca pearls in a coffee grinder and was storing them in a small container. So when I added the 1/4 cup tapioca to the cherries I measure it straight from what I had already ground. WRONG! You need to measure out the tapioca pearls before grinding. I probably ended up adding about twice as much thickener measuring out the tapioca the way I did. And you could definitely tell too. The pie ended up so thick, it was almost like jello. Just completely gelatinous. I mean, it still tasted good, but the texture was totally off because of my personal error. It is definitely no fault of the recipe though, which I LOVE.
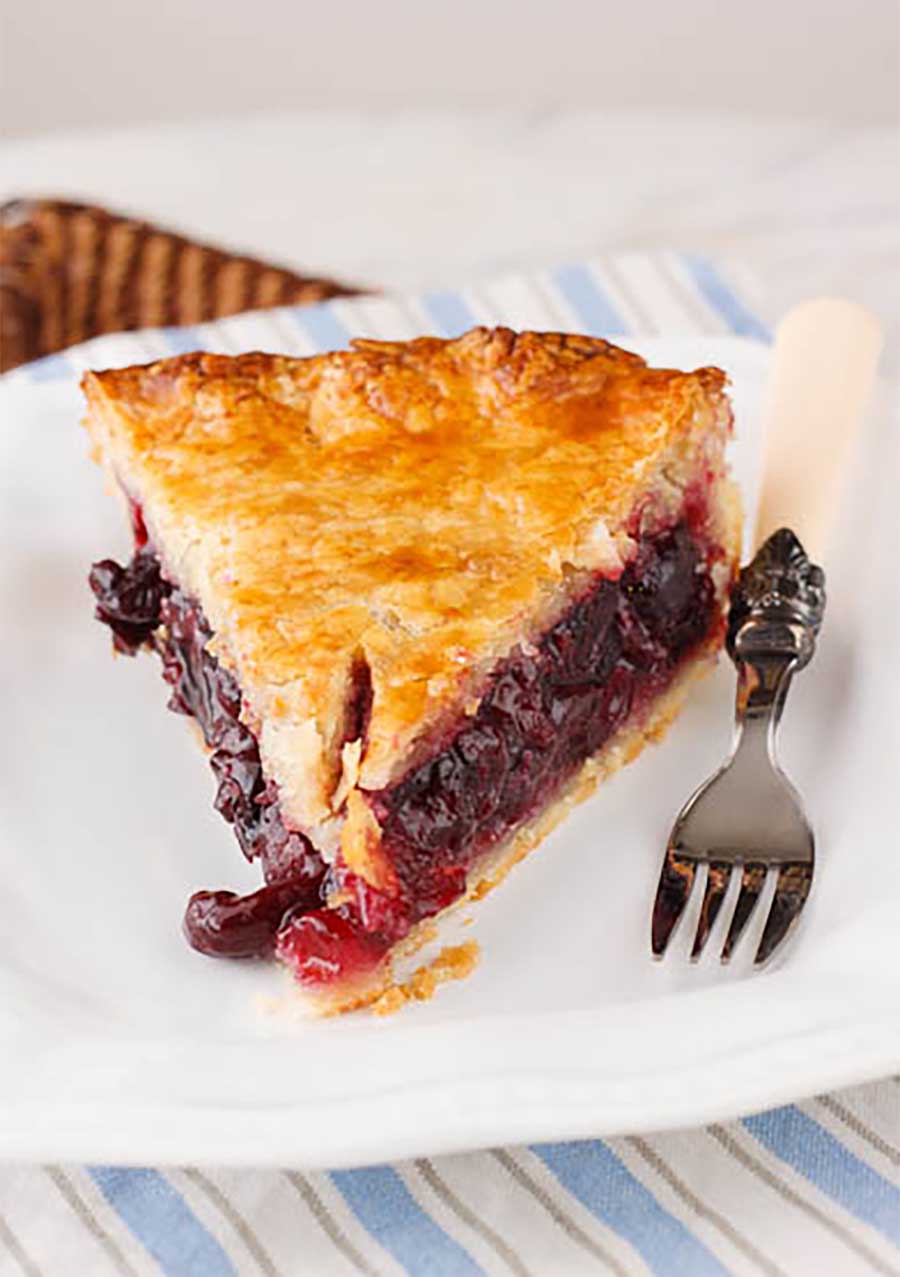
And the pie crust? Perfect! If you haven’t tried Cooks Illustrated’s Vodka Pie Crust yet, I highly suggest that you did. It is by far my favorite pie crust. It’s perfectly formulated to achieve that signature flakiness of authentic pie crust without developing all that unwanted gluten.
Cherry Pie
Serves: 8
Ingredients:
- ¼ cup quick-cooking tapioca, ground
- ⅛ teaspoon salt
- 1 cup white sugar
- 4 cups pitted fresh cherries, halved (if using frozen, use 5 cups and thaw completely, draining off most of the excess juices)
- ¼ teaspoon almond extract
- ½ teaspoon vanilla extract
- 2 tablespoons butter, cut into tiny pieces
- 1 recipe double pie crust of choice
- 1 egg beaten with 1 tsp water
Directions:
Roll 1 disk of dough into a 12″ circle on a lightly floured counter. Loosely roll dough around rolling pin and gently unroll it onto 9″ pie plate, letting excess dough hang over the edge. Ease dough into corners of the plate. Trim excess dough, flush to the edge. Cover with foil and place in the refrigerator to firm up for about 30 minutes.
Roll other disks of dough into a 12″ circle on a lightly floured surface, transfer to a parchment-lined baking sheet, cover with foil and refrigerate to firm up about 30 minutes.
Adjust oven rack to lowest position, place rimmed baking sheet on rack, and heat oven to 400°F. In a large bowl, combine tapioca, salt, sugar, cherries, almond extract, and vanilla extract. Pour into refrigerated, dough-lined pie plate. Dot with butter. Transfer remaining dough round gently on top of filling. Trim excess to ½” beyond the lip of the plate. Pinch edges of crusts together. Cut eight slits in the top of the pie and brush the surface with egg mixture. Cover and freeze pie for 20 minutes.
Place pie on a heated baking sheet and bake until crust is light golden brown, about 30 minutes. Reduce oven temperature to 350°F, rotating baking sheet, and continue to bake until juices are bubbling and crust is deep golden brown, 30-40 minutes longer. Let pie cool on a wire rack to room temperature, about 4 hours. Serve.
Notes
The refrigerating of the pie crust with each step provides the flakiest, best pie crust. Alternately you can opt-out of those steps and simply roll out the dough, assemble the pie, and bake.

