Happy New Year! I wish everyone the best for this new year and look forward to an exciting year as my family moves from the Seattle area back to Northern Virginia, where we previously lived. We are very excited and the big move is only 6 weeks away!
I love to bake all sorts of things but would like to share with you my current obsession, cake pops…
I first heard about cake pops about a year ago from some friends, who were getting them from a big chain coffee shop. I tried one at a friend’s house and thought they were good but didn’t really think about them again until this past summer. They were becoming increasingly popular and I was seeing them everywhere: in various magazines I receive, cake pop maker commercials on tv, and several websites and blogs. I decided to look up the popular book by Bakerella and order it online. A few days later I had a cake pop at another friend’s birthday party and I thought to myself, “I should try making these for myself at home! I think I could do it.” When I got home from the party I did some more investigating and got my supplies ready to go.
I started experimenting with different flavors and testing them out on friends. Most of my friends now just assume whenever we have a get-together, I will be making cake pops so it was only fitting that when I was invited to a friend’s house for a New Year’s Eve party, I bring some over!
I have found that the flavor favored by most (and the easiest to roll and shape) is the classic yellow butter cake dipped in vanilla candy coating. Feel free to experiment with various cake and frosting flavors. The dipping step can be time consuming, but they are actually quite easy to make. I’m sure you will see many cake pops on here in the future!
Basic Cake Pop
Ingredients
- 1 box of cake mix any flavor (and required ingredients)
- 1 cup of simple buttercream frosting *see recipe or store-bought canned frosting
- 1 pound of candy melts any color and flavor
- Vegetable shortening
- 4 or 6 in lollipop sticks
- Sprinkles sanding sugar, or other candy to decorate
- Flower foam or styrofoam blocks to allow the candy coating to harden.
Instructions
- Follow directions to prepare cake on any boxed cake mix. I use a 9 x 13 glass dish. Allow to cool completely. Trim any crusty edges or dark spots on the cake.
- Using your hands, crumble cake into a large bowl. Add frosting: you can either use 1 cup of a simple buttercream frosting or about half of a small container of store-bought frosting. I would recommend starting out with about 3/4 cup frosting and then add more if needed. You will want the “dough” to just come together, and you will probably have to stir for several minutes before this happens. Be careful not to use too much, or your cake “dough” will be very gooey and difficult to roll into balls.
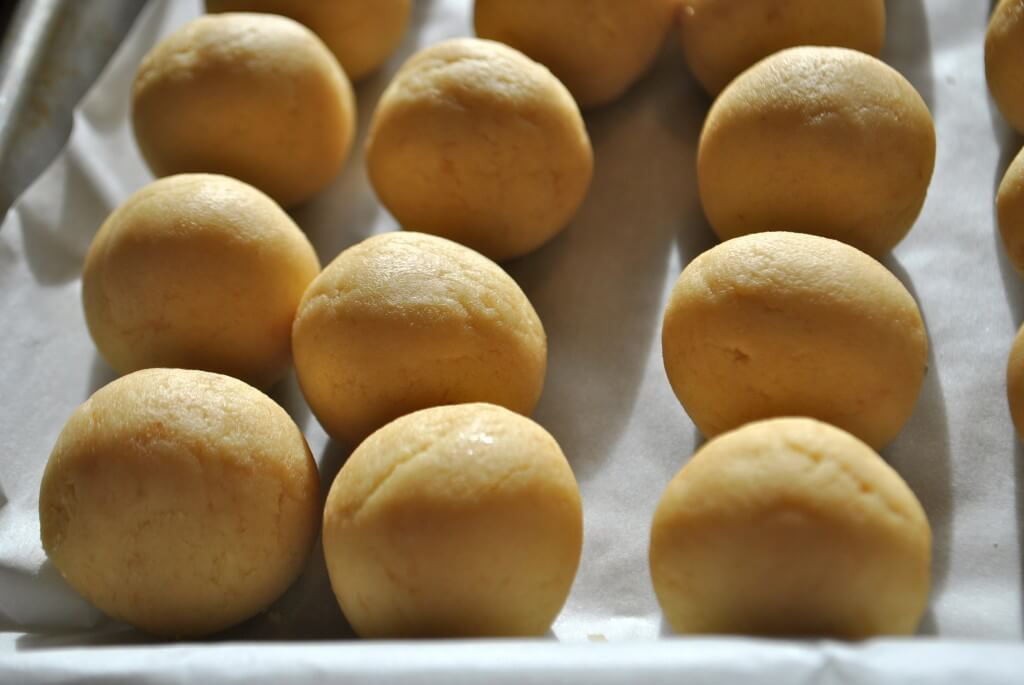
- Shape “dough” into small balls about the size of a ping-pong ball, or approximately 1 Tablespoon of “dough.” I use a very small ice cream scoop to produce consistently sized balls. Roll in the palms of your clean hands to create a smooth ball. You might need to wash your hands a few times during this process if they get sticky from the “dough.” Chill at least two hours. (*You can also freeze these for future use if you do not want to make a whole batch. Thaw in the refrigerator before dipping.)
- In a deep microwave safe bowl, slowly melt the candy coating in the microwave for 30 second increments until smooth. I use a 2 cup pyrex measuring cup. To thin the candy melts, add tablespoons of shortening until desired consistency, depending on how much coating you are using.
- Dip the tips of the lollipop sticks in the melted coating and insert into the chilled cake pop balls. This helps them stay on the stick when completely coated. After they have hardened, you can start dipping the cake pops.
- To dip the cake pops, lower the cake balls into the melted candy coating and completely coat the outside. Be sure not to move the pop around too much in the coating because this can loosen the cake ball from the lollipop stick and they can fall off. Gently tap the stick on the edge of the bowl to allow any extra coating to drip off. Decorate immediately and insert the lollipop stick into the floral foam or styrofoam to allow the coating to harden. Be sure to space them far enough apart so that they don’t touch during the cooling process.
- You can store these at room temperature for the day and refrigerate overnight. If refrigerated they will stay fresh for about a week.
Buttercream Frosting
Ingredients
- 1 stick butter room temperature (I use unsalted butter, but you can use salted)
- 3 3/4 cups powdered sugar
- 3-4 Tablespoons milk
- 1-2 teaspoons vanilla extract optional
Instructions
- Beat the butter in a large mixing bowl with paddle attachment until smooth and creamy.
- SLOWLY add small amounts of the powdered sugar and beat on low until combined.
- Add 3 Tbsp milk and vanilla, if using, and mix on medium speed until light and fluffy. Add more milk if it’s too thick, until desired consistency. If you add too much milk, just add a little more powdered sugar. Refrigerate any leftover frosting.