Here in Germany, they have bakeries absolutely everywhere. It’s like how Starbucks liters the streets of America, except sub out another one of America’s evil chains for a privately owned “Bäckerei“. They’re just incredible. Every time I go in one I feel like it’s Christmas… And although I thoroughly appreciate their “kuchen” (desserts), I can’t help myself but order some fresh bread every once in a while. My favorite? Kürbiskernbrot (Pumpkin Seed Bread). Hands DOWN. I just love everything about it. Kürbiskernbrot is usually shaped into a square roll and contains pumpkin seeds, flax seeds, wheat flour, and sourdough. It’s incredibly textural and just perfect for a light sandwich (which is what I always order at the Cafés). With all these hearty ingredients, this roll makes for a healthy alternative to plain white any day.
So after falling so deeply in love with this roll, I knew that I couldn’t leave Germany without having a dependable recipe to make some for myself back in the states. I searched and searched online to find a recipe that was anything like the authentic Kürbiskernbrot. It ended up being a lot harder than I imagined… I was only able to find one recipe that was at all similar and even then I had to make a few adjustments. So unfortunately this is not a traditional recipe, but it’s a very good take on the authentic. The difference being that the Kürbiskernbrot does not contain rye flour or molasses, but uses sourdough for its distinct taste. Since sourdough is a little bit inconvenient to work with because you need the starter, I wasn’t going to argue with nixing it.
This roll has incredible texture, with the seeds being scattered throughout the dough as well as on top. Here in Germany they actually bake them almost completely covered in seeds, I assume they probably roll the shaped dough in them before the second rise. Or maybe they have a layer of seeds on the baking tray that they bake them on and then just scatter some more on top? Either way, the amount of seeds that you adorn these with is totally up to you. And so is the shape. I usually find them sold as square rolls here, which probably helps all the seeds stay on. I tried to make mine square but they ended up severely rectangular… so I stopped and went the easy route, shaping them into rounds.
If you’re unfamiliar with yeast breads, don’t worry- this is a very BASIC recipe. It follows all of the general yeast bread steps.
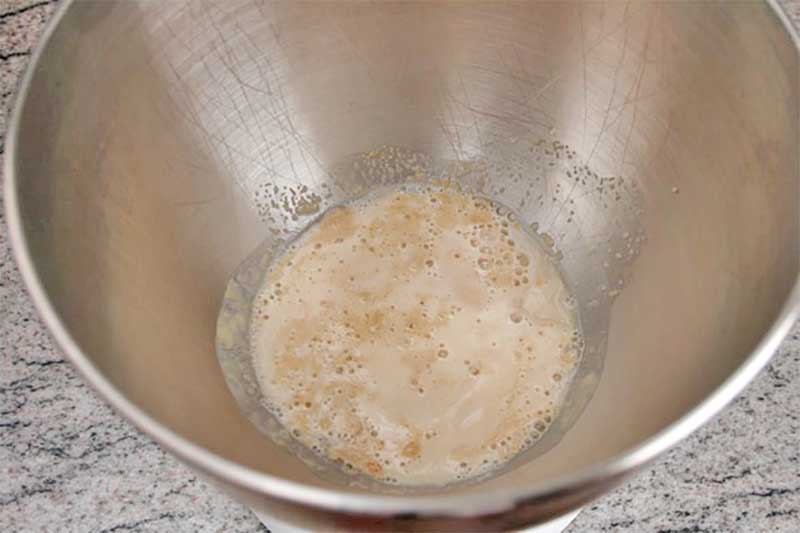
Let your yeast and water (110 degrees F!!) actuate until bubbly (5-10 minutes).
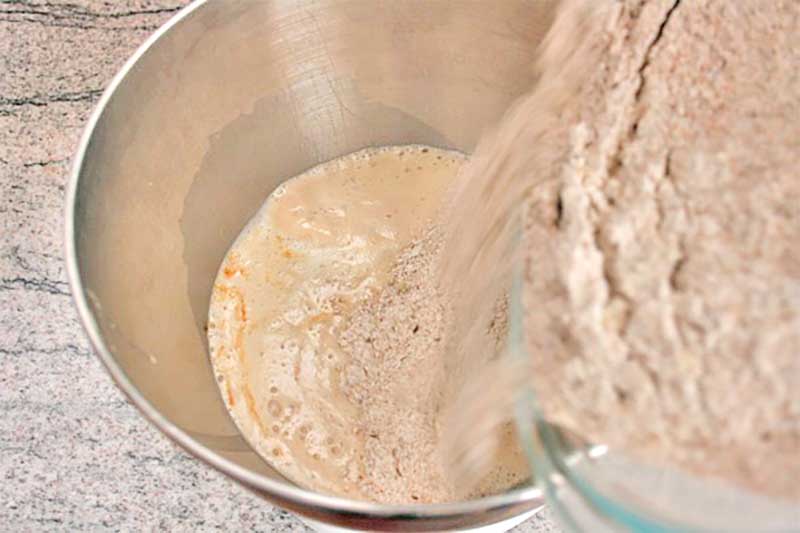
Add in the melted butter and the dry ingredients.
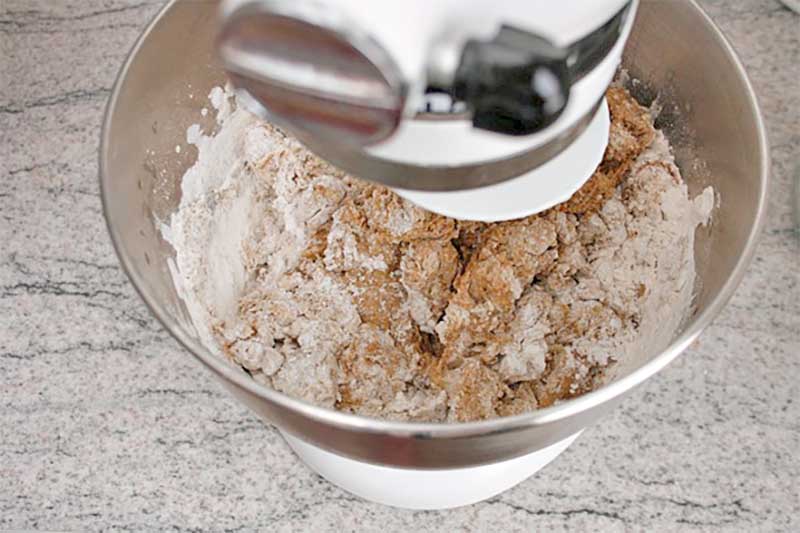
Knead with the dough hook of an electric mixer or by hand for about ten minutes or until dough is smooth and elastic.
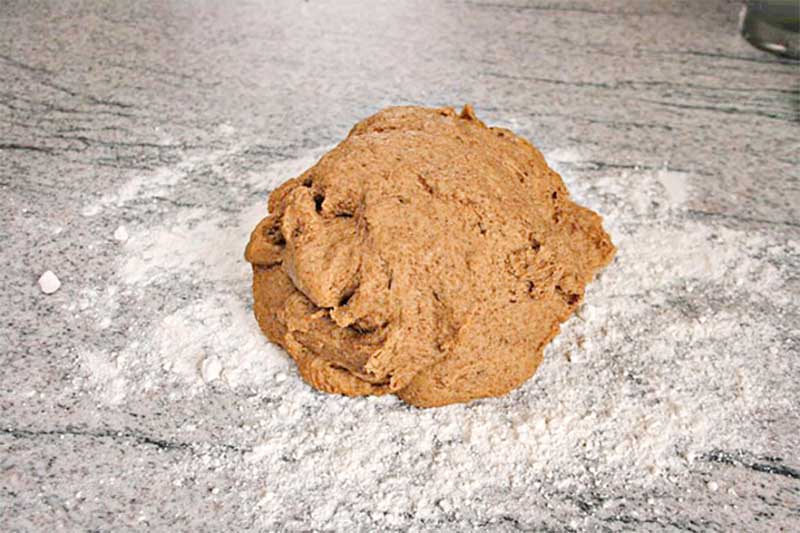
Dump the dough onto the counter and knead in the seeds.This is going to take a bit of effort, they will resist.
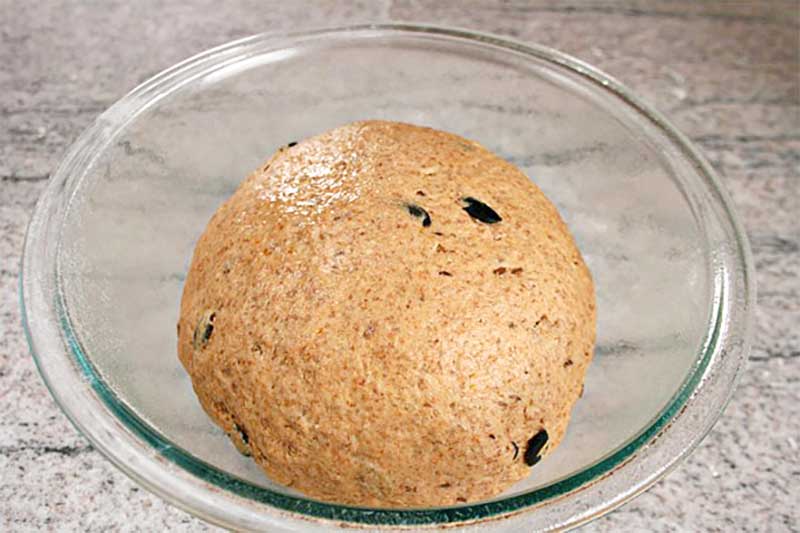
Finally you will have this beautiful seeded ball of dough.
Let it rest in an oiled bowl until double in size, about 1 hour.
Then you shape it and let it rest, covered, about another hour.
After the second rise it is time to bake!
And those are the basic steps for any yeast bread : )
Plus or minus a few details…
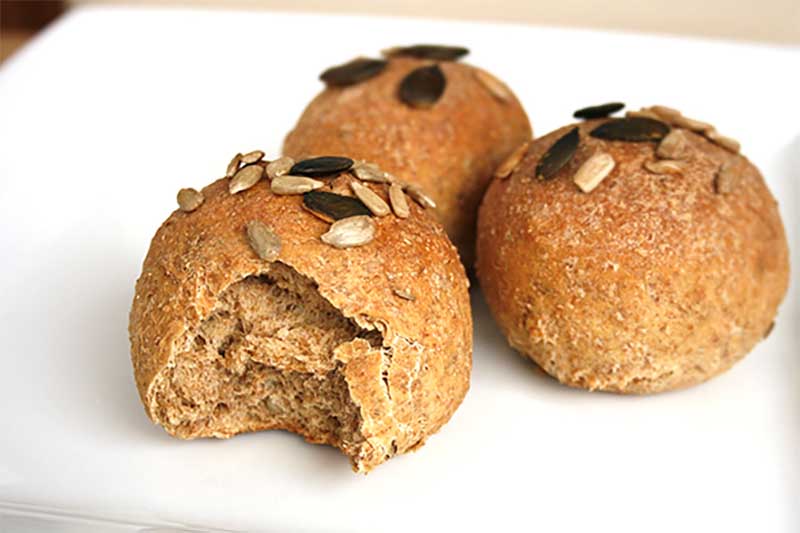
You’ll want to add the seeds on top right before baking.
I misted my rolls with water using a spray bottle and then sprinkled them on.
I then misted them in the oven a couple more times to develop a crunchier crust.
It wasn’t until recently that I purchased a spray bottle specifically for this use and have found it very helpful in obtaining that “bakery crunch”.
Also! I couldn’t eat all these rolls at once so I popped most of them into the freezer on a tray covered with tin foil right after shaping.
Once frozen, I transferred them to a plastic zip-lock bag.
The next few days I baked them off fresh without any additional thawing or rising.
Simply preheat the oven to 325 degrees F, cover the rolls with foil and let them bake for about 10-15 minutes. Remove the foil then bake at 375 degrees F for another 15-20 minutes.
The time this takes depends entirely on how large your rolls are so play it by ear.
I just thought this was a convenient little trick to share with you. It can be done with anything yeasted for the most part : )
As long as the rolls aren’t in a deep freeze that is… in which case you may want to put them in the fridge overnight to help them thaw a little bit.
Pumpkin Seed Rolls
Serves: 24
Ingredients:
- 1 Tb plus 2 tsp active dry yeast (2 packets)
- ½ cup water, 110 degrees F
- ⅓ cup molasses
- 1 Tb salt
- 2 Tb flax seeds
- ¼ cup butter, melted
- 1¾ cup water, 110 degrees F
- 1½ cup rye flour
- 1½ cup whole wheat flour
- 3-4 cups all-purpose flour
- ⅓ cup pepitas (pumpkin seeds), plus extra for topping
- ⅓ cup sunflower seeds, plus extra for topping
Directions:
Preheat oven to 400 degrees F. Stir yeast, ½ cup water, and molasses together in the bowl of a stand mixer fitted with a dough hook. Let it actuate until foamy, about ten minutes.
Add salt, flax seeds, melted butter, 1¾ cup additional water, rye flour, and whole wheat flour. Beat until smooth.
With the mixer on low, slowly add 3 cups all-purpose flour. Turn the mixer up to med-high and knead for 8-10 minutes until smooth and elastic, adding additional flour as necessary. Turn dough out onto a lightly floured surface and knead in pepitas and sunflower seeds.
Let the dough rise in an oiled bowl for 1 hour or until doubled.
Shape the dough into rolls and let rise for 1 additional hour.
Mist with water using a spray bottle and sprinkle with any remaining seeds for topping. Bake for 30-40 minutes, misting the oven with water twice in the first 10 minutes for a crunchier crust.

