Every summer, my grandmother’s kitchen was a symphony of scents and sounds. The warm sun would stream through the windows, casting a golden glow over her countertops, where jars of glistening jams and jellies awaited their final moments of glory. It was in this kitchen that I first tasted the magic of homemade preserves, and among them, blackberry jelly held a special place in my heart.
One vivid memory that stands out is from a summer spent in the lush, sprawling countryside of our family farm. The blackberries were ripe, their dark purple hues a stunning contrast against the vibrant green leaves. My grandmother and I would spend hours picking the plump berries, our fingers stained with their rich juice. Those moments, shared in the sun-drenched fields, were more than just foraging; they were about savoring the season, creating bonds, and learning the art of preserving summer’s bounty.
Back in the kitchen, the process of making blackberry jelly was as much a ritual as it was a culinary endeavor. The kitchen would fill with the sweet aroma of boiling berries and sugar, a scent that seemed to capture the essence of summer itself. As the jelly began to set, we’d chat about everything from family stories to dreams for the future, making each jar not just a treat but a vessel of cherished memories.
This blackberry jelly recipe I’m sharing today carries on that tradition, allowing you to bring a piece of those sunny summer days into your own home. It’s a simple recipe, one that doesn’t rely on pectin but instead focuses on the natural sweetness and pectin of the blackberries themselves. The process is straightforward: extract the juice, combine it with sugar, and let it reach the perfect gel stage. It’s a process that brings back all those fond memories of my grandmother’s kitchen and the simple joys of homemade treats.
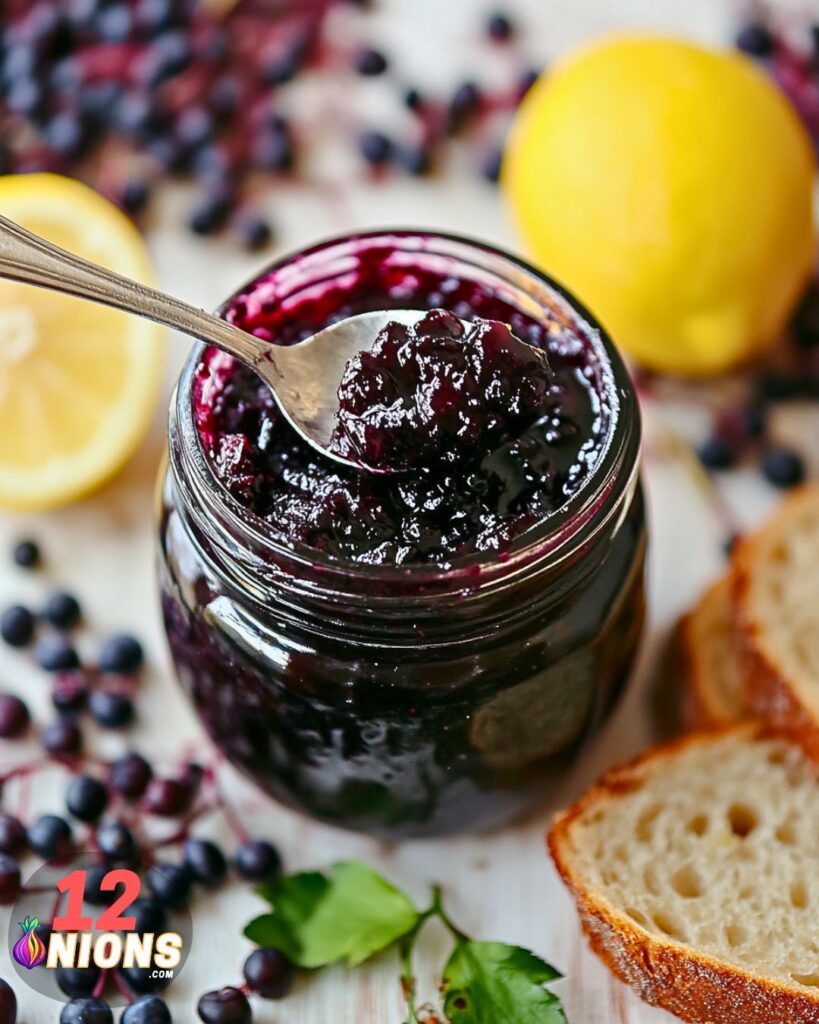
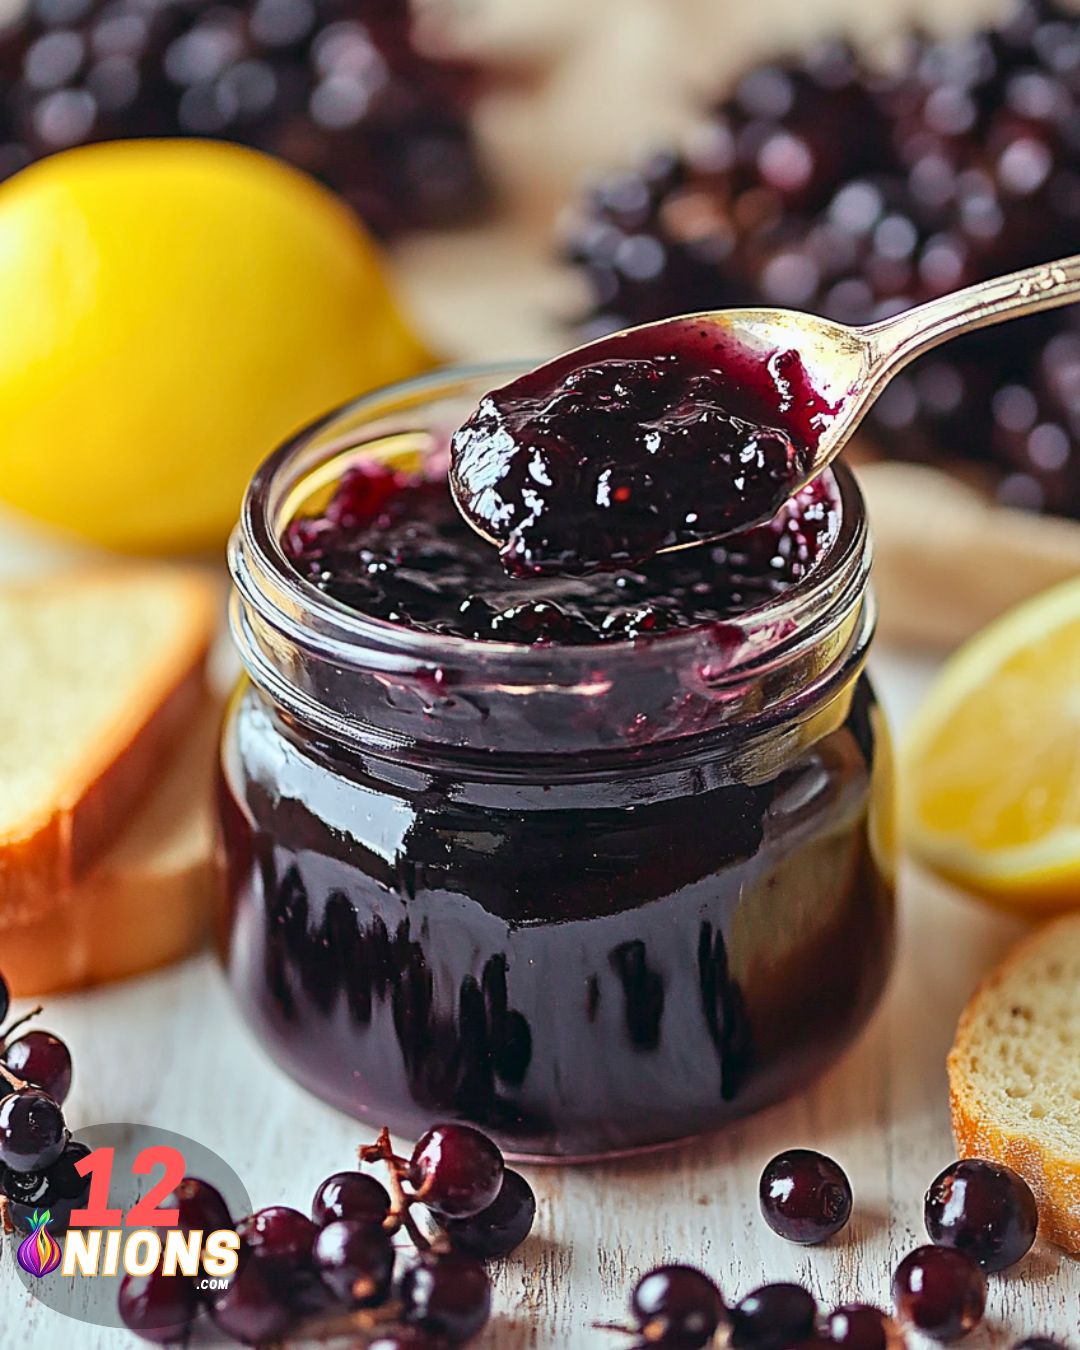
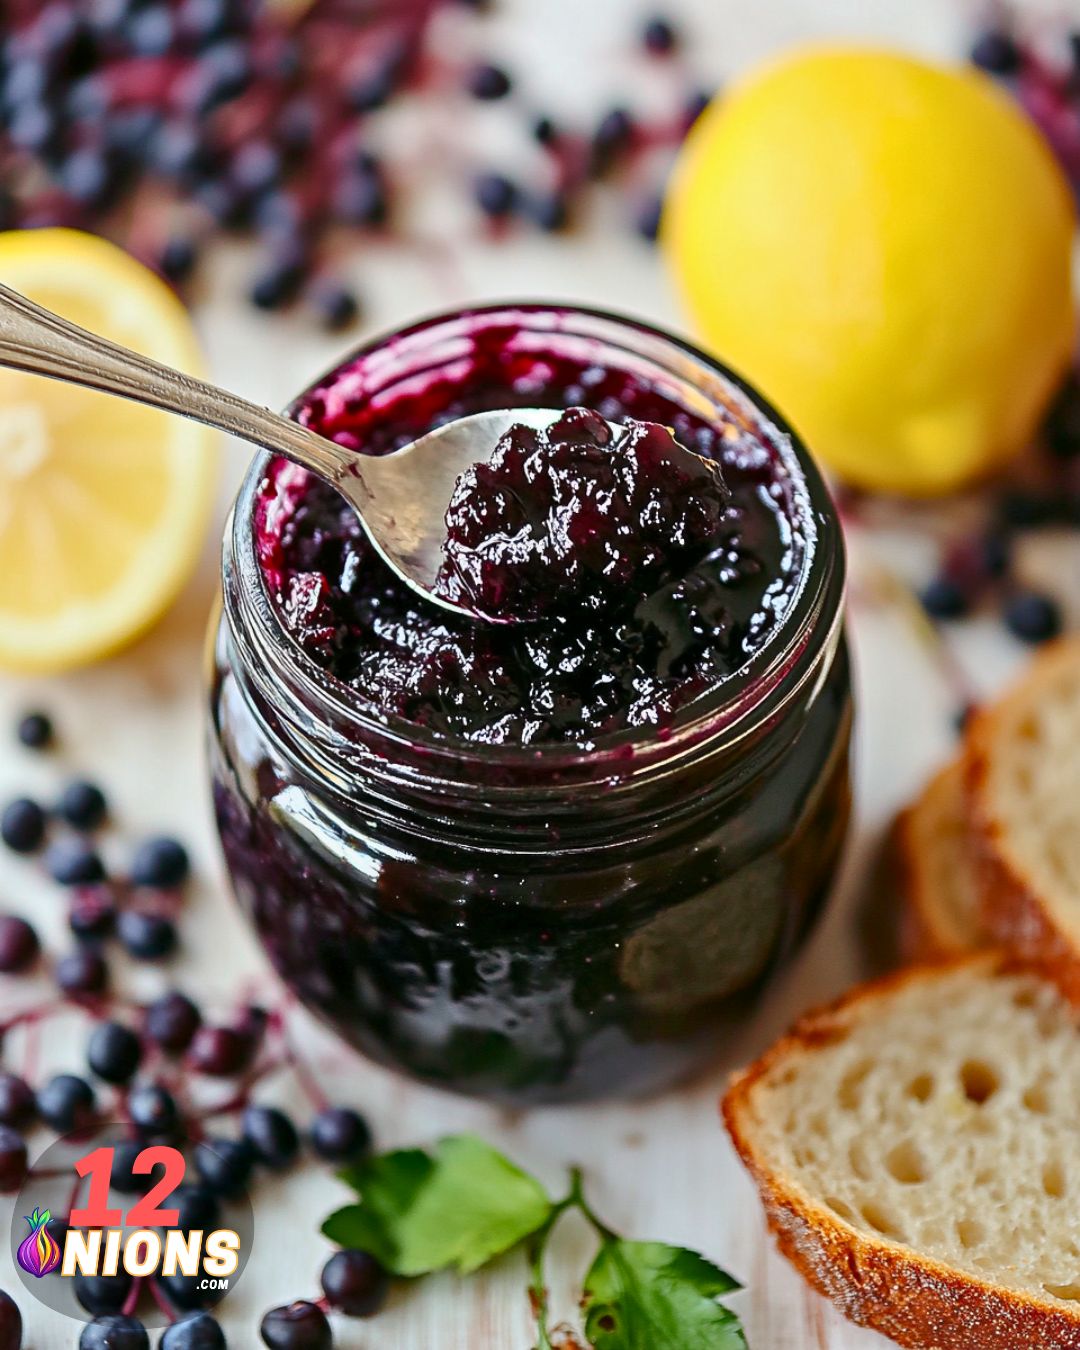
Imagine spreading this luscious blackberry jelly on a slice of freshly baked bread or adding a dollop to your morning yogurt. Each bite is a reminder of those sunlit days and the love that went into making it. Whether you’re making it for yourself or sharing it with loved ones, this jelly is more than just a preserve; it’s a taste of summer’s sweetness and a tribute to the art of preserving memories.
Making Homemade Blackberry Jelly
Click here to get printable version
Ingredients
- Juice from 9 cups (or 2 1/2 quarts) fresh blackberries, plus 1 cup of water
- 3 cups granulated sugar
Directions
- Begin by placing 9 pints of fresh blackberries into a large pot, then add 1 cup of water.
- Heat the pot over medium-high heat, allowing the mixture to come to a boil. As it heats, gently mash the berries with a spoon or potato masher.
- Once the berries are fully broken down, which should take about 5 minutes, remove the pot from the heat.
- Pour the blackberry mixture through a jelly bag or a strainer lined with cheesecloth to separate the juice from the pulp. Let it drain for at least an hour until the pulp is mostly dry.
- Measure the resulting juice to ensure you have around 4 cups of liquid.
- Add 3/4 cup of granulated sugar for each cup of blackberry juice. Stir until the sugar is completely dissolved.
- Transfer the juice and sugar mixture to a deep pot and bring it to a vigorous boil over high heat.
- Boil for 5-8 minutes, monitoring the mixture until it reaches the gel stage. You can test this by placing a spoonful on a cold plate or by checking with a thermometer (it should reach 220°F at sea level).
- Pour the hot jelly into sterilized jars, leaving about 1/4 inch of space at the top of each jar.
- Seal the jars with 2-part lids. If you plan to use the jelly soon, refrigerate the jars or freeze them for up to 6 months.
- For long-term storage, use a water bath canner. Prepare the canner while the juice is draining. Fill the jars with the hot jelly, leave 1/4 inch headspace, and seal with the lids.
- Process the jars in the boiling water bath for 10 minutes. After processing, let the jars cool on a towel on the counter.
- Check the seals after 24 hours. Any jars that haven’t sealed properly should be refrigerated for immediate use.
Storing Suggestion
Store the jelly in a cool, dark place. Refrigerate opened jars and use within a few weeks. Unopened jars can be kept for up to a year in a cool, dry place.
Cooking Tips
To ensure a successful jelly, be precise with measurements and cooking times. Use a candy thermometer to check the temperature for the gel stage. If the mixture doesn’t gel, you can reheat and add more sugar or pectin.
Serving Suggestions
Blackberry jelly is perfect for spreading on toast, as a topping for desserts, or as a filling for pastries. Try pairing it with cheese for a delightful appetizer.
Ingredient Substitutions
If you prefer a less sweet jelly, reduce the amount of sugar. You can also use other berries like raspberries or blueberries to create different flavors.
Seasonal Variations
In the spring, you can add a hint of mint or lemon zest to the jelly for a refreshing twist. In the fall, mix in a pinch of cinnamon or nutmeg for a spiced flavor.
Allergen Information
This recipe contains no common allergens. However, always check the sugar packaging for any potential cross-contamination with allergens.
FAQ:
Can I use frozen blackberries for this recipe?
Yes, you can use frozen blackberries. Just thaw them before cooking and ensure you drain any excess liquid.
How do I know when the jelly is ready?
The jelly is ready when it reaches 220°F on a candy thermometer or when it sets up on a cold plate. It should have a firm, spreadable consistency.
Can I reduce the amount of sugar in this recipe?
Yes, you can reduce the sugar if you prefer a less sweet jelly, but this may affect the gelling process. You might need to use a pectin substitute to help it set properly.
What should I do if my jelly doesn’t set?
If your jelly doesn’t set, you can reheat it, add more sugar or pectin, and boil again. Make sure to follow the correct gelling temperatures.
How long does homemade blackberry jelly last?
Homemade blackberry jelly lasts up to a year if stored in a cool, dark place. Once opened, it should be refrigerated and used within a few weeks.
Can I water bath can the jelly?
Yes, water bath canning is recommended for long-term storage. Process the jars for 10 minutes in a boiling water bath to ensure they are sealed properly.
Blackberry Jelly without Pectin
Ingredients
- Juice from 9 cups or 2 1/2 quarts fresh blackberries, plus 1 cup of water
- 3 cups granulated sugar
Instructions
- Start by placing the fresh blackberries, about 9 pints, into a large pot, then add 1 cup of water.
- Heat the mixture over medium-high heat, bringing it to a boil. While it heats, gently mash the berries as they cook.
- After approximately 5 minutes, the berries will have broken down completely, releasing their juices. Remove the pot from the heat.
- Strain the blackberry mixture through a jelly bag or a cheesecloth-lined strainer. Allow the juice to drain thoroughly for at least an hour until the pulp is mostly dry.
- Measure the strained juice, aiming for around 4 cups of liquid.
- For each cup of blackberry juice, stir in 3/4 cup of sugar.
- Transfer the juice and sugar mixture into a deep jam pot, then bring it to a rapid boil over high heat.
- Continue boiling for about 5-8 minutes until the mixture reaches the gel stage. You can check this by placing a small amount on a chilled plate or using an instant-read thermometer (it should reach 220°F at sea level).
- Pour the jelly mixture into sterilized jam jars, leaving about 1/4 inch of space at the top.
- Seal the jars with 2-part lids.
- If you're planning to store the jelly for immediate use, refrigerate the jars, or freeze them for up to 6 months.
- For longer storage, water bath canning is recommended. Prepare a water bath canner as the juice is straining.
- Once the jelly is ready, fill the jars with the hot mixture, leaving 1/4 inch headspace, and seal with the lids.
- Process the jars in the water bath canner for 10 minutes.
- After processing, carefully remove the jars and let them cool on a towel on the counter. After 24 hours, check the seals; any unsealed jars should be stored in the refrigerator for immediate use.
- Enjoy your homemade blackberry jelly!